

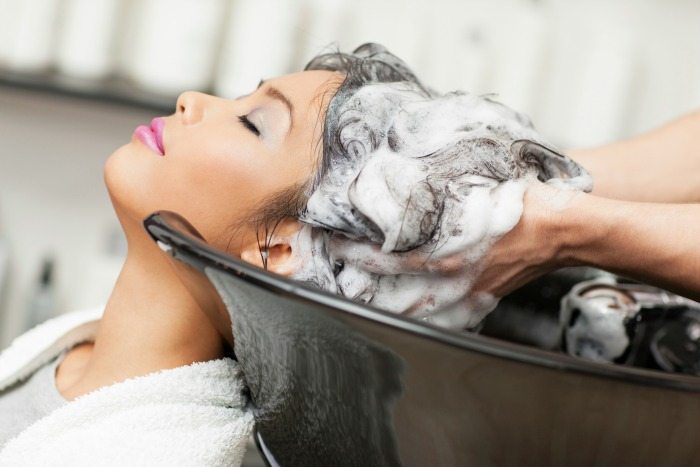
You may not realize it, but there’s a battle being waged over your hair right now. From the tools we use in our beauty regimens such as hair dye, the flat iron, and even to the natural environment outdoors, it seems our tresses cannot escape devastation. That being said, a hair mask treatment can surely soothe the daily damage our hair sustains. We found two hair masks that you can easily do at home, tested them out, and compared the results.
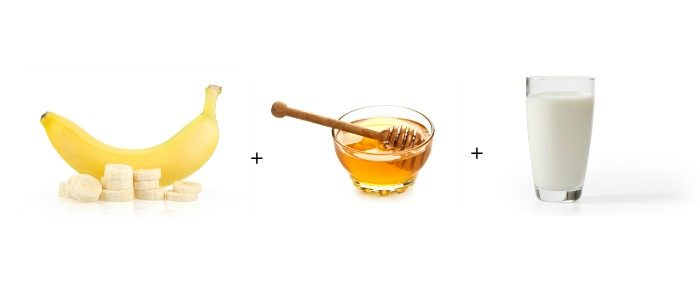
The first mask being put to the test is a banana hair mask. Bananas fortify hair with potassium, vitamin B6, and folate, and the milk in the mask adds protein. To make this mask, you’ll need:
1-2 bananas (depending on your hair length)
1-2 Tbsp. of honey
Enough milk to reach the consistency of conditioner
Optional ingredients: cocoa powder for brunettes and redheads, peaches for blondes, and green tea for clarifying.
Directions:
1. Peel the bananas and blend them with milk in a blender; less than half a cup of milk will probably do the trick. Add honey for an extra moisturizing boost.
2. Apply the banana mixture to dry hair over a sink, from the roots to the tips. Cover hair with a shower cap or a plastic bag, and wrap it all up in a towel to catch stray banana drips. Leave in your hair for at least 15-20 minutes, although it’s best to leave it in longer if you have the time. I left the mask in for 40 minutes while I did some chores.
3. Finally, rinse the mask out in the shower, and then wash and condition hair as normal.
One word of caution: be sure to blend away all banana chunks, or they will leave a sticky mess in your hair!
Pros:
- Leaves hair feeling silky and smooth
- The lactic acid in milk rids hair of dead skin cells that build up over time
- Great way to use overripe bananas
Cons:
- If you don’t have a blender, it will take quite some time to mash up the bananas effectively.
- Only lasts a handful of days before winter dryness sets in again
- Can be a very messy process.
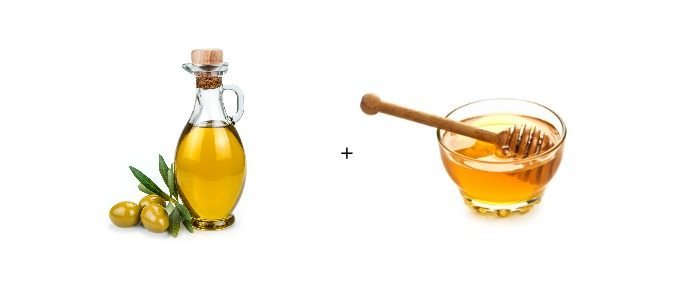
The second is an olive oil and honey mask.
Directions:
1. To make this mask, use a ratio of 3 Tbsp. olive oil to 1 Tbsp. honey. If you have long hair, double the amount of each ingredient.
2. Heat up the olive oil, and then stir in the honey.
3. Apply the mixture to wet hair, from the roots to the tips. Cover with a shower cap or plastic bag, and then with a towel. Let the mask sit for at least 30 minutes (and several sources recommend letting it sit for up to an hour). I let my mask sit for 40 minutes, to compare it to the banana mask.
4. As with the banana mask, rinse out the mask in the shower, and then shampoo and condition as usual.
Pros:
- Hair felt soft after the mask
- The mask uses ingredients commonly found in the cabinet
- The process to make the olive oil mask is much simpler than the banana mask
Cons:
- The hair mask did not leave hair feeling as hydrated or as silky as the banana mask.
- Hair felt slightly oily after the mask.
- The process of applying the mask is very messy, and oil is harder to clean up than bananas.
The Verdict: The banana hair mask is the winner! With so many natural benefits for your hair, as well as the glossy feeling it leaves, it’s the perfect tool to fight back against environmental damage.
Have you ever tried a DIY Hair Mask before?
Find more natural beauty products, recipes, and ideas here.
All images via Thinkstock


 DIY versions. Your hair will be left silky smooth. Thank us later.)