

I have to admit that I usually adhere to a no fuss beauty routine. I’m not the girl who gets a facial once a month or even blow dries her hair. So what exactly am I doing writing about facials? Well, it turns out that your kitchen supplies a wealth of beauty supplies. There are several ingredients that you consume daily that you may have never thought to put on your face! Intrigued, I decided to test out two simple facials. I opted for two basic recipes that were easy to put together. They take only a handful of minutes to prepare, and then remain on the skin for 20 minutes.
Note: Just because it’s in the kitchen doesn’t mean you should use it on your face. Do some research on ingredients before you use them to avoid allergic reactions and unwanted break outs.
We sampled ingredients such as yogurt and oatmeal that cause minimal or no irritation (to most), but everyone’s skin reacts differently to different ingredients. Test out a small area of your face first.
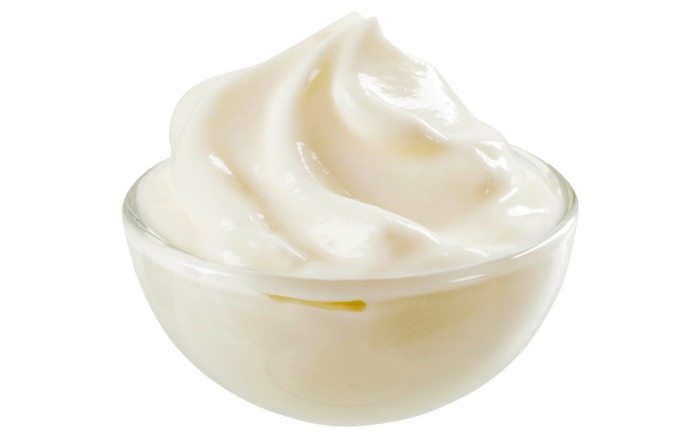
The first facial uses plain nonfat yogurt. You can use regular plain yogurt or plain Greek yogurt. Look for natural or organic yogurt so the additives found in many mainstream varieties don’t end up irritating your skin. This facial only takes about a minute to prepare and apply!
Directions:
- Apply yogurt directly onto face.
- Let the yogurt sit for twenty minutes.
- Rinse off with water.
Pros:
- The lactic acid in yogurt acts as a gentle exfoliant that may help rid the skin of blemishes and diminish wrinkles.
- The calcium in yogurt moisturizes the top layer of skin, the epidermis. Calcium is a key component of the epidermis, so yogurt helps renew that layer of skin.
- Remember this when summer comes: yogurt can help you fight a painful sunburn! The zinc in yogurt alleviates the effects of too much time spent enjoying the sunshine.
Cons:
- Yogurt can be messy; be sure to apply over a sink.
- Be sure not to use flavored yogurt; some sources say that the sugar found in flavored yogurt can actually clog pores.
- You may be tempted to eat the yogurt instead of smearing it on your face (or your pet will try to lick it off your face!).

The second facial uses oatmeal and honey.
Directions:
- Mix together ½ cup of warm water and 1/6 cup oatmeal. (Just fill your 1/3 cup up halfway). Let the oatmeal and water sit for a couple of minutes.
- Add in ½ Tbsp. of honey.
- Apply to face, and let sit for 20 minutes.
- Rinse off with water.
Pros:
- Oatmeal has anti-inflammatory properties and adds moisture back into skin ravaged by winter.
- Oats contain saponins, which cleanse the skin.
- Honey is antibacterial, and also works to relieve dryness.
Cons:
- I halved the original recipe, and still made way more of the facial than I could possibly use.
- My face felt the same after the facial, and did not feel nearly as soft as the yogurt facial.
- The oatmeal concoction uses up more ingredients and takes more time to make.
The Verdict: Yogurt wins the match-up! It is easier to use, less messy, and more effective than the oatmeal facial. In fact, it’s a facial you can apply right after reading this article!
What face masks do you regularly use?
For more natural beauty remedies, find our full collection here.
Recipes adapted from Reader’s Digest.


[…] Eating Champs: Sprouting – 40 Fit in the Mitt This Not That: DIY Facials – Bite Size Wellness Get Yo’ Veggies In! – I’m Fit Possible Monday Inspiration! – Fun, […]