

What do lemons, honey, gelatin, and milk have in common? For one, don’t use them to make cheesecake! However, they are also the ingredients for your next DIY pore strip. We tested out two recipes that are currently working the Pinterest circuit to see which recipe cleansed better. Both concoctions for DIY Pore Strips and Pore Minimizers were easy to assemble and apply. However, which one did the trick?

To create the first pore strip, slice a small wedge from a lemon. Sprinkle a few drops of honey directly onto one side of the wedge. Next, simply rub the honey and lemon over any problem areas on your face. I, personally, used it all over my t-zone to test out the pore strip on several different areas of my face. Let sit for five minutes and then wash off with cold water.
SEE ALSO 10 Tangy Lemon Recipes for National Lemonade Day
Pros:
- This strip felt less like a traditional, store-bought pore strip and more like a facial cleanser. There was no pain involved when I rinsed it off.
- Honey treats acne because it has antibacterial properties, and the antioxidants in honey also work against aging. Plus, honey is very gentle and moisturizes skin, while still powerfully fighting skin issues.
- The honey and lemon work together: honey works to open pores while lemon acts as a facial toner to clean those opened pores. Lemon also works as an astringent on pores.
SEE ALSO Fact or Fiction: Can Honey Really Minimize Acne?
Cons:
- Lemon is phototoxic, which means that lemons make your face more sensitive to sunlight and sunburn. Be careful – apply this remedy at night rather than before a trip to the beach.
- Lemons are incredibly acidic, ranking in at a 2 on the pH scale, which is too acidic for the face. Lemons can dry out the sensitive skin on the face and disrupt skin’s natural protection against bacteria.
- I didn’t feel like the lemon pore treatment accomplished much. Yes, my face felt cleaner after the rinse, but my pores looked the same.
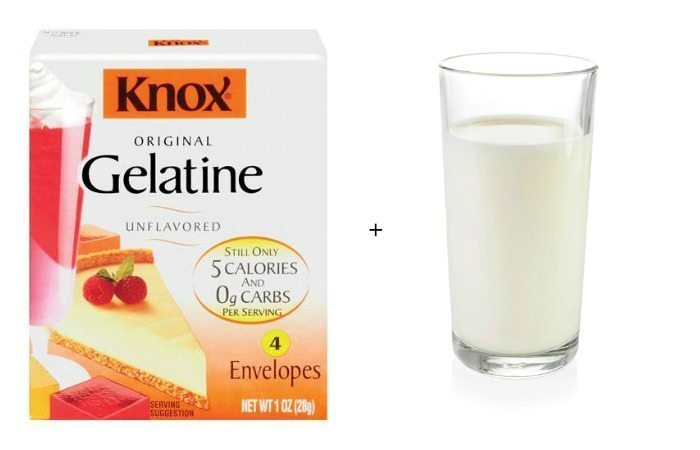
For the second pore strip, mix together 1 Tbsp. unflavored gelatin and 1 ½ Tbsp. milk. Heat in a microwave for 15 seconds, and then apply to the face soon after. Be careful not to burn your fingers, but don’t let the mixture cool down all the way or it will be difficult to spread on your face. Again, I concentrated on my t-zone. This strip remains on the face for 15 minutes.
Pros:
- The gelatin strip was more effective, and did a better job of unclogging my pores.
- Gelatin is very inexpensive. I purchased the Knox brand, and the little box contained four envelopes of gelatin (I used 1 for the strip) and only cost 99 cents.
- The lemon strip was messy and threatened to drip off my face, but the gelatin strip hardened and allowed me the freedom to do some chores for the fifteen minutes of waiting. I could have stretched into downward dog if I’d felt like it!
Cons:
- Ouch! Like a traditional pore strip, the gelatin hurt when it was peeled off. This effect wasn’t so bad on my nose, but I deeply regretted putting the gelatin on my cheeks.
- The pore strip was unexpectedly smelly! Luckily the smell dissipated over 15 minutes, but at the beginning, it was nearly strong enough to make me reconsider the experiment.
- The gelatin strip altered my appearance into that of a space alien… just kidding! It did look really weird, though.
SEE ALSO Daily Bite Wellness Tip: Why You Should Try Almond Milk
Verdict: Spend your pocket change on gelatin! It was more effective and made my face feel clean and smooth.
For more on Skin & Natural Beauty, check out our articles here.
How do you minimize your pores?
All images via Thinkstock


Ugh! I wish I had a trick to minimize my pores! They’re huge and I always want to pop the black heads out of them! LOL!